
Changing an ostomy bag can feel intimidating. This is especially true in the weeks after surgery when it is new to you. Many people worry that removing the barrier will hurt or leave the skin sore. That concern is completely understandable. With the right technique, appliance changes often become much more comfortable.
One of the most common reasons for peristomal skin problems is removing the bag too quickly or using too much force. Fortunately, this is something that can usually be avoided by following a gentle and consistent routine.
This guide explains how to remove an ostomy bag step by step while protecting the skin around the stoma. The goal is to make each pouch change as comfortable as possible and help keep the skin healthy over the long term.
Why Removing an Ostomy Bag Can Hurt or Damage Skin
An ostomy barrier is designed to remain securely attached throughout the day, even during normal movement, showering, and exercise. That strong seal is essential for preventing leaks. It also means the adhesive needs to be removed carefully. If the barrier is pulled directly away from the skin, it can lift the outer layers of skin along with it due to the strong adherence to the skin.
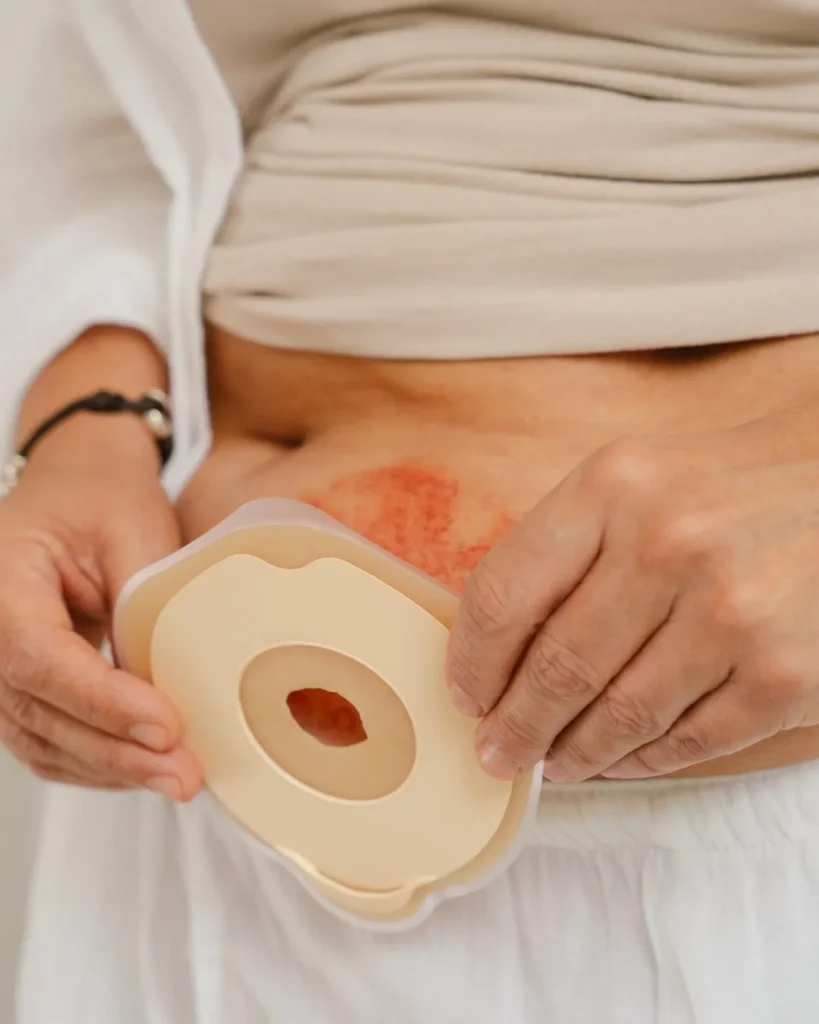
This repeated trauma is one of the most common causes of sore peristomal skin. It may appear as redness, tenderness, skin stripping, small areas of weeping, or other forms of Medical Adhesive-Related Skin Injury (MARSI). These problems are more likely to develop if pouch changes are frequent or the barrier has become firmly attached after several days of wear.
A study from McNichol et al. discusses injury related to medical adhesive usage and the prevention of injury and discomfort. Many people assume that discomfort is unavoidable, but that usually isn’t the case.
The solution is not normally a stronger pull or a quicker removal. Instead, it comes down to using the correct technique. Supporting the skin, allowing the adhesive to release gradually, and avoiding sudden movements place far less stress on the skin and make appliance removal noticeably more comfortable.
This article concentrates on those practical techniques. Read our companion guide How to Remove Medical Adhesive from Skin Safely if you’d like to learn more about MARSI and adhesive-related skin damage. We even cover the science behind gentle adhesive removal.
The Golden Rule — Push the Skin, Don’t Pull the Bag
There is one technique that makes the biggest difference during an ostomy bag change: push the skin away from the barrier instead of pulling the bag away from the skin. This is in line with the official advice from the United Ostomy Associations of America.
This relatively small change greatly reduces the amount of force placed on the skin. Rather than letting the adhesive pull at the skin as it releases, you’re helping the skin separate from the barrier gradually. Many stoma nurses teach this method because it is much gentler than simply peeling the appliance away.
Start by loosening one corner of the barrier. Hold that edge lightly while using the fingers of your other hand to push the surrounding skin inward and away from the adhesive. Keep the skin supported and slightly taut as you continue. The barrier should peel away slowly rather than lifting off in one movement.
Work a small section at a time instead of trying to remove the whole barrier at once. If you feel resistance, pause rather than pulling harder. Supporting the skin throughout the process can reduce stretching and unnecessary pain or trauma to the area.
The temptation is often to finish the job quickly if the barrier feels firmly attached. People think of it like ‘pulling off a band aid’ but this is not an accurate comparison. Slowing down usually makes removal easier and leaves the skin in much better condition for the next pouch. A gentle and controlled removal takes a little longer. It can make every appliance change more comfortable.
Step-by-Step: Removing Your Ostomy Bag Painlessly
Following the same routine every time helps make pouch changes more comfortable and reduces the chance of skin irritation.
- Wash your hands and prepare your supplies. Choose a comfortable position where you can clearly see the stoma. Use a mirror if needed.
- Empty the pouch first. A lighter pouch is easier to handle during removal. Avoid rinsing the pouch beforehand, as moisture can make the process more awkward.
- Loosen one corner of the barrier. Begin at the top edge and gently lift a small section rather than trying to remove the whole appliance at once.
- Use the golden rule. Push the skin away from the barrier with one hand while the other hand supports the wafer. Continue slowly and work downward a little at a time.
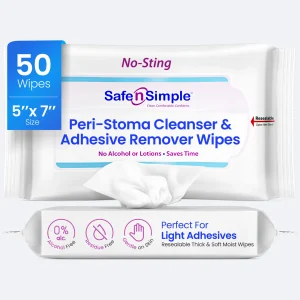
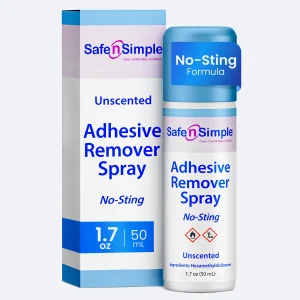
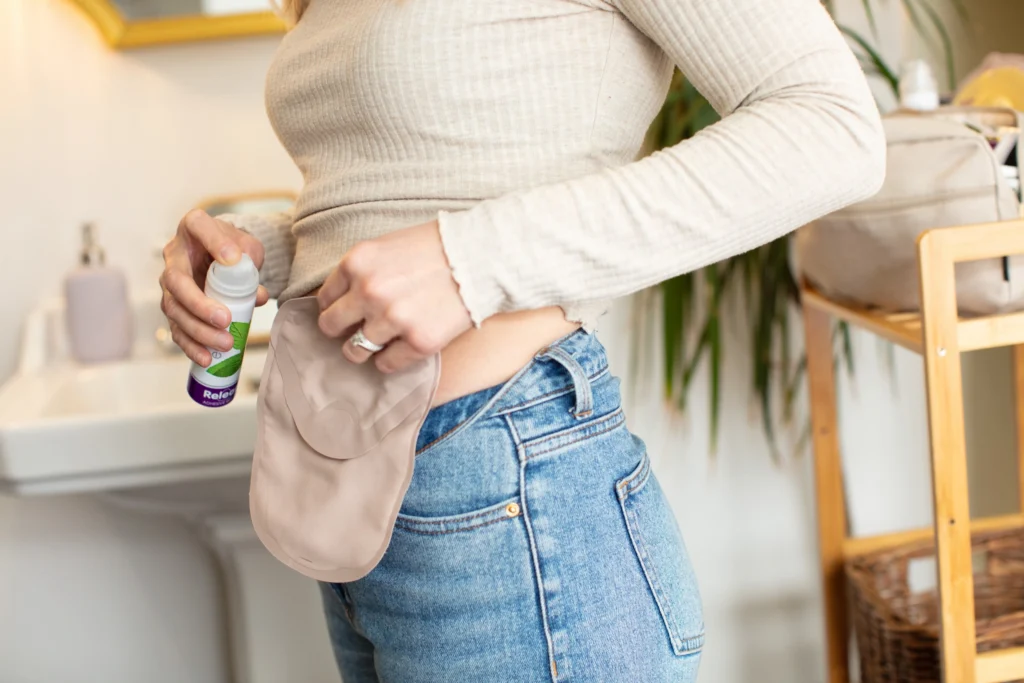
- Use an adhesive remover if needed. If the barrier feels firmly attached or the skin is tender, apply an alcohol-free adhesive remover around the lifted edge as you continue. This allows the adhesive to release with less force. For more guidance on choosing and using adhesive removers, see our article on Adhesive Remover Spray for Ostomy Bags.
- For two-piece systems, gently separate the coupling while supporting the skin, then continue removing the skin barrier using the same slow technique.
- Dispose of the used appliance in a disposal bag before cleaning the skin and preparing for the next pouch.
Resist the urge to pull quickly or force the barrier away from the skin. A slow and steady approach almost always results in a more comfortable pouch change and healthier peristomal skin over time.
When to Use an Adhesive Remover
Many pouch changes can be completed using good technique alone. There are also times when an adhesive remover makes the process much more comfortable. The goal isn’t to use one every time because you have to. It is to reduce unnecessary pulling when the barrier is difficult to remove.
An adhesive remover is particularly helpful when the barrier feels firmly attached. This could be because it has only been worn for a short time, or the skin around the stoma is already sore or tender. Apply the remover around the lifted edge of the barrier and allow it a few seconds to loosen the adhesive before continuing.
For routine ostomy care, our alcohol-free, no-sting adhesive remover spray is often the gentlest option even when adhesion is strong. It can be applied evenly beneath the edge of the barrier as it is peeled back, helping the adhesive release with less force. A residue-free formula is also important because leftover adhesive or oily films may affect how well the next barrier seals to the skin.
Avoid using household oils or other home remedies to loosen the barrier. They can leave residue behind and interfere with the next appliance. Only use products that are approved for medical use. Alcohol-based removers can also be a more robust option for stubborn adhesives.
If you’re unsure which type of remover is most appropriate for your skin or appliance, see our companion guide on Adhesive Remover Spray for Ostomy Bags. This compares the available options in more detail.
Caring for Peristomal Skin After Removal
Once the old appliance has been removed, take a few moments to check the skin before applying a new one. Healthy peristomal skin should look much like the skin elsewhere on your abdomen. Mild temporary redness where the adhesive sat can occur. Ongoing soreness or other signs of issues should not be ignored.
Clean the area gently with warm water and a soft, lint-free wipe. Avoid cotton wool or tissues that shed fibres. These can interfere with the new barrier. There is no need to scrub the skin or use harsh cleansers unless specifically recommended by your healthcare team.
Pat the area dry carefully and allow the skin to dry completely before applying the next barrier. Some people find a cool hairdryer on a low setting helpful if the skin remains damp. This should also be checked with a healthcare professional.
If extra skin protection is needed, a barrier film can help create a protective layer while supporting good adhesion. Keeping the area free from excess hair also improves the seal. Trim hair carefully with scissors or clippers rather than shaving. Razors can irritate the skin.
A few extra minutes spent caring for the skin after each pouch change can help reduce irritation and make future appliance changes much more comfortable.
When to See a WOCN or Doctor
A little temporary redness after removing an ostomy barrier can be normal. Remember that the skin should recover quickly. If it remains sore or continues to worsen, it’s time to seek advice.
Contact a WOC nurse or healthcare professional if you notice:
- Redness that does not fade after pouch changes
- Weeping, broken, or bleeding skin
- Increasing pain or tenderness around the stoma
- Swelling, unusual discharge, or other signs of infection
- Repeated skin damage despite using a gentle removal technique
Persistent skin problems are often linked to issues such as appliance fit or removal technique rather than the stoma itself. A WOC nurse can assess the skin and check that your pouching system fits correctly. They may recommend changes that make appliance removal more comfortable while helping protect your peristomal skin.
Getting help early can prevent minor irritation from becoming a more serious skin problem and make future pouch changes much easier.