
Applying an ostomy barrier ring can feel a little awkward at first. The process is fairly simple once the technique becomes part of daily routine.
The important part is getting the small details right. Clean and dry skin helps. A correctly moulded ring and firm contact between the ring and pouching system can also contribute to a more reliable seal.
This guide explains how to use an ostomy barrier ring step by step. This means each step from preparing the skin to molding the ring and applying the wafer. It also covers common application mistakes and some simple ways to help the finished seal last.
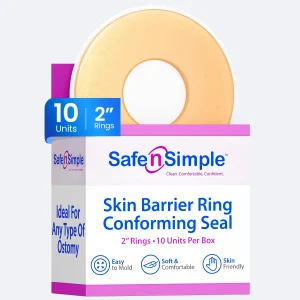
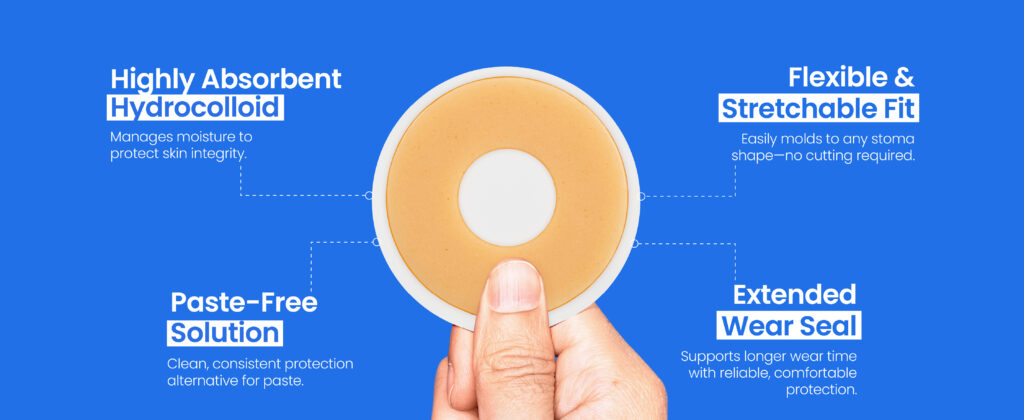
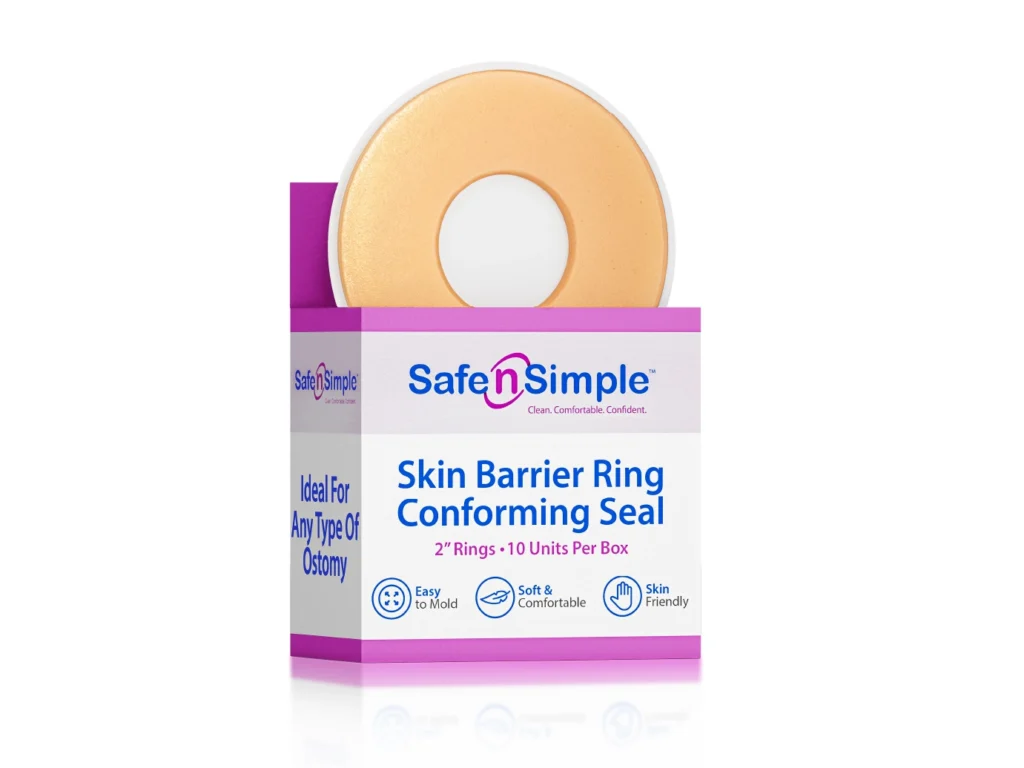
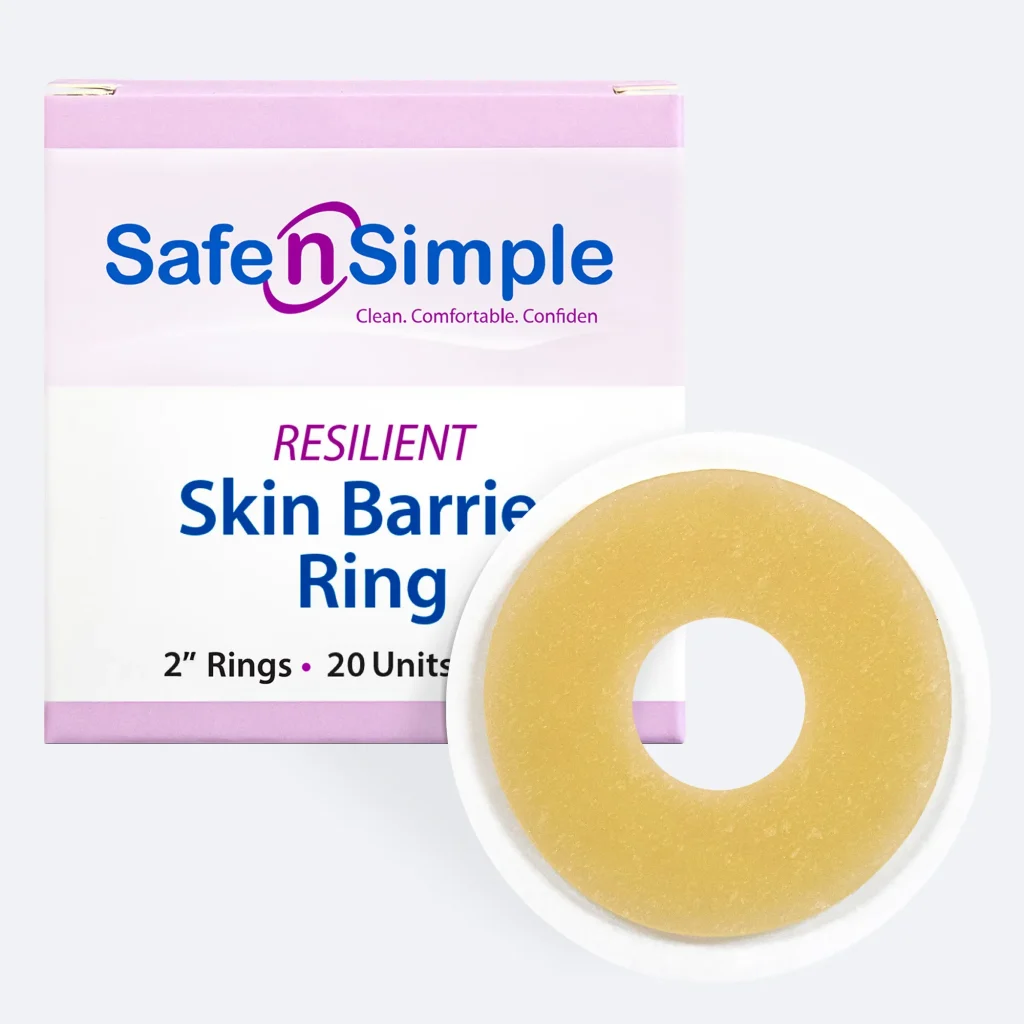
Safe n’ Simple Conforming Skin Barrier Rings are designed to be molded and stretched rather than cut. This allows the ring to follow the individual shape of the stoma and surrounding skin. The focus here is specifically on applying them correctly.
For more information about what rings do and why they are used, read our guide on What Is an Ostomy Barrier Ring and How Does It Work?
What You’ll Need
It helps to have everything ready before removing the existing pouching system. This makes the change quicker and avoids having to search for supplies after the skin has already been cleaned.
For a standard barrier-ring application, have the following to hand:
- A Safe n’ Simple Skin Barrier Ring
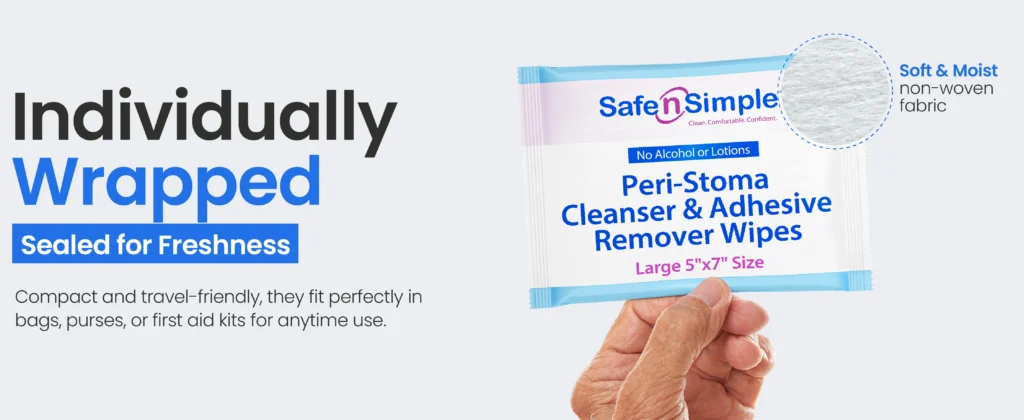
- Plain warm water or an ostomy-specific cleanser
- A soft, lint-free cloth or towel
- A clean wafer and pouch
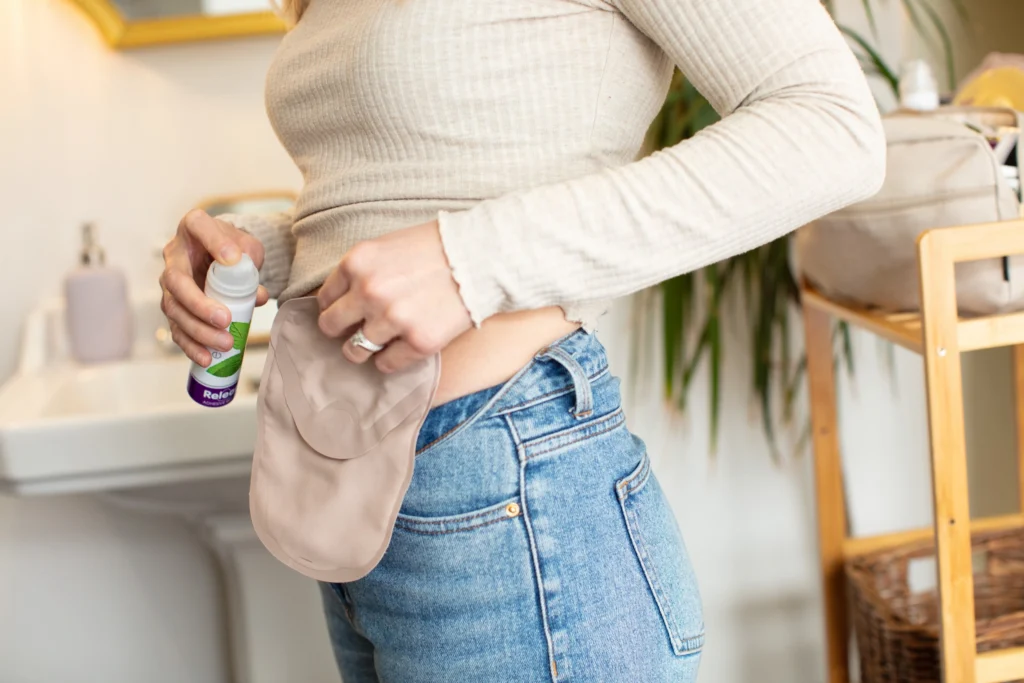
- Adhesive remover, if needed to remove the previous appliance
- Skin barrier paste only if there are deeper scars or small gaps that require additional filling
The ring itself provides the main additional seal beneath the wafer for most people. Paste shouldn’t automatically be considered an essential part of every change. When it is required, it should have a specific gap or contour to fill rather than simply being added as another layer.
Safe n’ Simple offers several Skin Barrier Ring options for different contours and wear requirements. The Conforming Skin Barrier Ring is the standard mouldable option and can be stretched to fit without cutting. Having the correct ring available before beginning makes the remaining steps much easier.
Step 1 – Clean and Fully Dry the Skin
Start with clean peristomal skin. After gently removing the old pouching system, clean the area around the stoma using plain warm water or an ostomy-specific cleanser. Avoid oily soaps and other products that can leave a residue on the skin. This can interfere with adhesion.
There is usually no need to scrub. Gentle cleaning is preferable, particularly because the same area of skin is repeatedly covered by adhesive and exposed during pouch changes. Once clean, carefully pat the skin dry with a lint-free cloth or towel rather than rubbing it.
The fully dry part of this step is particularly important. A barrier ring needs good contact with the skin. Any moisture left around the stoma can make it more difficult to establish a secure bond. Check around the entire stoma base rather than assuming the area is dry after a quick wipe.
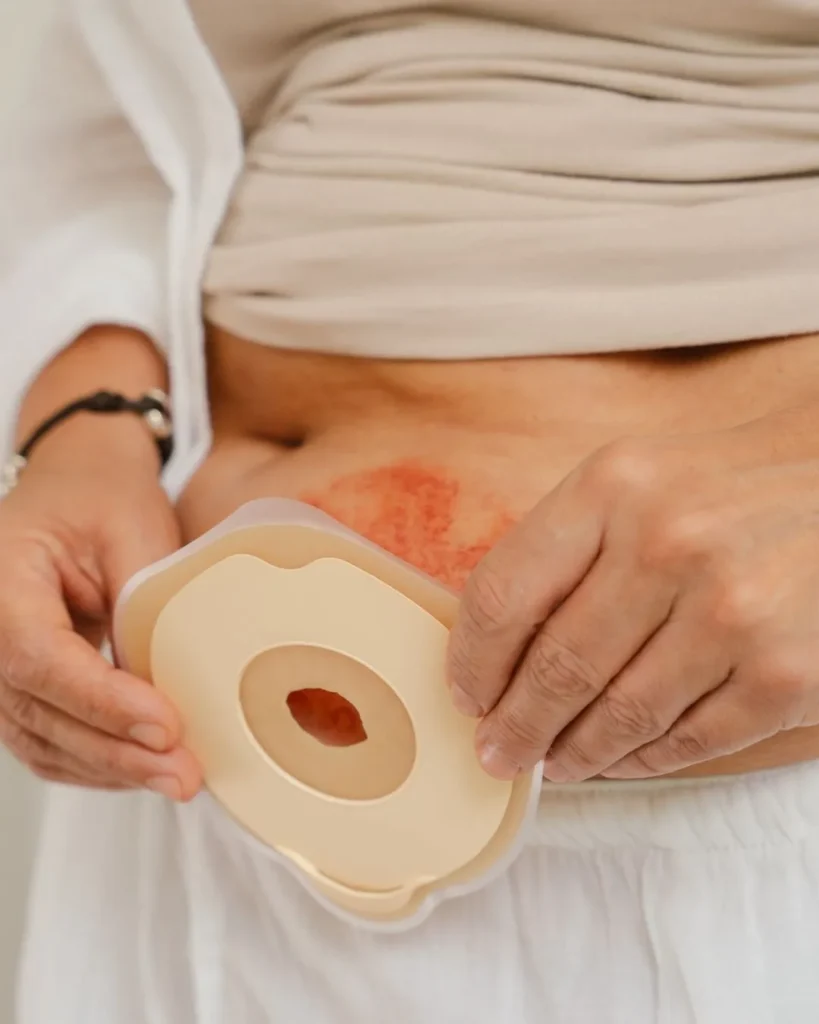
This is also a useful opportunity to look at the peristomal skin before covering it again. Healthy skin should generally look similar to the surrounding abdomen. Persistent redness, broken or weeping skin, significant soreness, or another noticeable change may warrant advice from an ostomy or WOC nurse.
For more detail on maintaining healthy skin between pouch changes, see How to Protect the Skin Around Your Stoma.
Step 2 – Choose and Size the Ring
Choose a barrier ring that is reasonably close to the size of the stoma. The opening doesn’t need to be an exact match straight from the package because moldable rings are designed to be adjusted by hand.
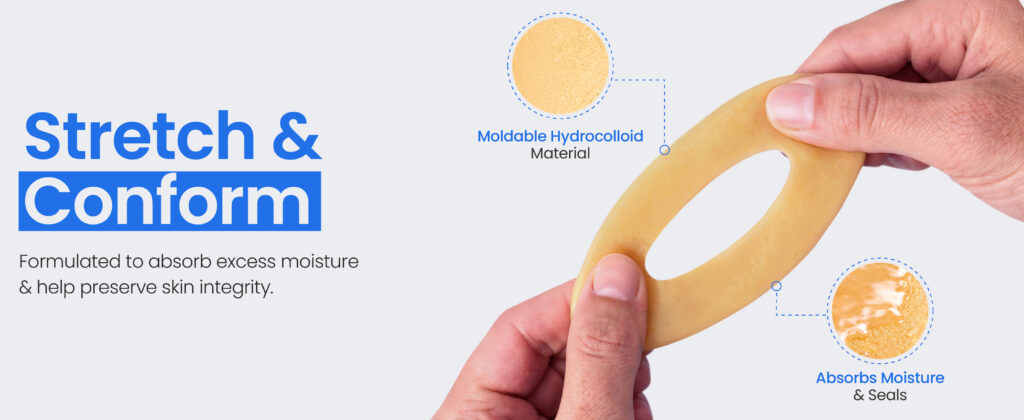
Safe n’ Simple Conforming Skin Barrier Rings can be gently stretched to create a wider central opening. There is no need to cut the ring to size. Stretching rather than cutting helps preserve a continuous ring of material around the stoma.
The aim is to create an opening that sits closely around the stoma without covering or constricting it. A large gap between the stoma and ring can leave skin exposed to output, while forcing an opening that is too small can interfere with the fit.
Stoma size and shape can change, particularly during the weeks following surgery. Don’t assume that the size used previously will always remain correct. Measuring periodically can help confirm that the ring and wafer still match the current stoma.
Larger or unusually shaped areas may require more material than one standard ring provides. Moldable rings can be combined or stacked where appropriate. This allows additional material to be shaped into the required area. Safe n’ Simple also offers different Skin Barrier Rings for varying contours and sealing requirements.
Step 3 – Warm and Mold the Ring
Hold the barrier ring between clean hands for a short time before applying it. Warmth makes the hydrocolloid material easier to mold. This allows it to conform more closely to the shape of the stoma and surrounding skin.
Next, gently stretch the central opening rather than compressing the ring. Work around it gradually so the opening remains even and follows the stoma’s shape. The finished ring should frame the stoma closely without leaving obvious gaps.
There are two accepted ways to position a barrier ring.
The first is to apply it directly to the skin around the stoma. This approach provides a clear view of the stoma base and can make it easier to mould material into creases or uneven contours before the wafer goes on.
The ring can also be placed onto the back of the wafer first, positioning it around the wafer opening. The wafer and ring are then applied together. Some people find this method easier because the ring is already centred on the pouching system and there is less handling close to the stoma.
Step 4 – Position and Apply the Wafer
If the ring has been placed directly on the skin, check its position before applying the wafer. It should sit snugly around the base of the stoma while leaving the stoma itself unobstructed.
Gently work the moldable material into any minor creases or uneven areas. Avoid repeatedly lifting and repositioning the ring once it has begun adhering to the skin. Unnecessary handling can make it harder to achieve an even seal.
Carefully centre the wafer opening over the stoma and lower it into position over the barrier ring. If the ring was attached to the wafer during Step 3, centre the complete ring-and-wafer assembly before bringing it into contact with the skin.
Once positioned, smooth the wafer outward from the area immediately surrounding the stoma. Pay attention to the edges and any natural folds in the abdomen. Always check that the appliance isn’t wrinkled or lifting away from the skin.
The goal isn’t to create a thick layer beneath the pouch. The ring should fill the space immediately around the stoma so the wafer has an even surface against which to sit.
A small amount of barrier paste can sometimes be used alongside the ring (if needed). See Barrier Ring vs Ostomy Paste — Which Is Better? for guidance on when combining the two is appropriate.
Step 5 – Press and Hold to Activate
Apply gentle pressure with a warm hand over the barrier for around one to two minutes. The combination of pressure and body warmth helps the adhesive make good contact with the skin while allowing the mouldable ring to settle into the contours around the stoma.
Pay particular attention to the area immediately around the stoma. Maintaining a close seal is vital. The pressure should be firm enough to encourage contact but still comfortable.
Check around the wafer afterwards for any obvious wrinkles or edges that haven’t adhered properly. Taking an extra minute at this stage can help establish a more secure seal before normal movement resumes.
Step 6 – Let the Seal Settle
Give the newly applied pouching system a little time to settle before returning to strenuous activity. This allows the adhesive and moldable barrier material to establish good contact with the skin without immediately being subjected to excessive stretching or movement.
Normal gentle movement is perfectly fine. Avoid any demanding activity immediately after an appliance change.
Before moving on, make one final check around the stoma and wafer. The ring should remain snug around the stoma, the wafer should lie smoothly against the abdomen, and there should be no obvious lifting edges or gaps. Once everything feels secure, normal daily activities can resume.
Common Mistakes to Avoid
Barrier rings are designed to be straightforward to use. A few small application mistakes can make it harder to achieve a reliable seal.
Avoid stretching the skin too tightly and to replace the ring each time you change your pouch. The skin needs to be dry and stoma powder can absorb the moisture and ensure the right surface to start with.
Rings can be stacked or combined when additional depth is genuinely needed, but more material doesn’t automatically mean a better seal. Excessive layering can create an uneven surface beneath the wafer. A thicker barrier ring may be a more suitable option where greater depth is regularly required.
Avoid handling the adhesive excessively. Repeatedly touching or repositioning the ring can affect how well it adheres. Warm and mould it first, then aim to position it accurately with minimal additional handling.
Check your ring size or speak to a stoma nurse for advice on how to apply ostomy rings properly to make sure that you are getting things right. Gently pressing the wafer into place after positioning the ring helps ensure proper adhesion and comfort.
Tips for a Longer-Lasting Seal
Correctly applying the barrier ring is only one part of maintaining a dependable seal. How the pouching system is managed between changes can also affect how long it remains comfortable and secure.
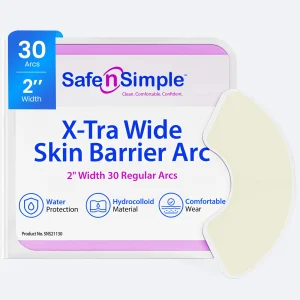
If the outer edges of the wafer tend to lift, for example around skin folds or during activity, ostomy barrier strips can be placed around the wafer’s border for extra security. A ring seals the area immediately around the stoma, while strips reinforce the outer edge. Some people use both together, depending on their skin and daily activities.
Many ostomy appliances are changed approximately every three to seven days, although the right schedule varies according to the stoma, output, skin, appliance and individual routine. It can help to learn how long the seal normally lasts and change the pouching system before it begins to fail. Repeated changes may not solve any underlying problem.
Pouch weight matters too. Emptying the pouch when it is around one-third full can reduce the weight pulling against the wafer and barrier. Allowing it to become very full may place unnecessary strain on the seal, particularly during movement.
Persistent leakage may indicate that something beyond application technique needs adjusting. See How to Stop Ostomy Pouch Leakage for wider guidance on achieving a secure pouching system. Maintaining healthy skin is equally important because irritated or damaged skin can make adhesion more difficult. How to Protect the Skin Around Your Stoma covers the everyday steps that can help.